Linux Guide Navigation List | Next: Installing your OS | Back to Start
Make a Bootable USB
First, you need to set up a USB to install your new Linux OS. Normally, Linux installation USBs are created using .ISO files. ISOs, or "disc images" are basically a byte-for-byte recreation of a CD or DVD disc's contents, saved as a digital file. Once it is set up on your USB drive, your computer will read the contents of the drive as if it were an installation disc!
Go to the download section on the website of your chosen OS, and save the ISO to the Downloads section on your computer.
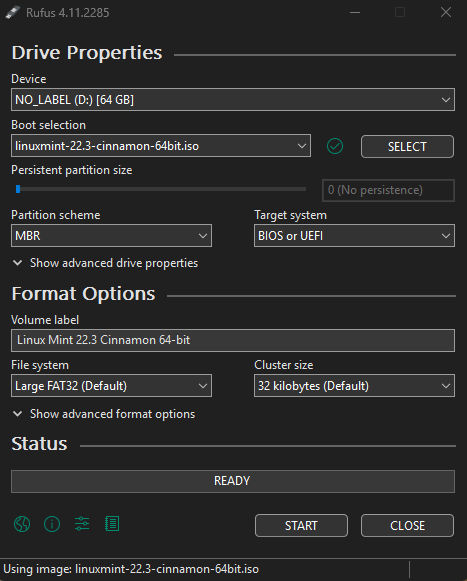
Install Rufus, a utility for setting up your USB drive. Once it's installed, follow the directions on the application. Select your ISO, and your flash drive, and let the app do its thing.
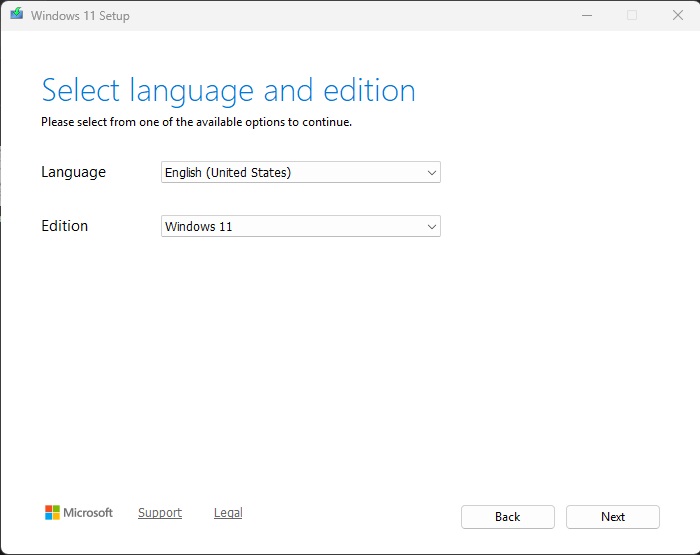
For your Windows backup installation USB, there a couple ways to do it. This link takes you to the Windows download page, which presents a few options. One way is downloading an ISO of Windows and using Rufus to set up a bootable USB. This has the added advantage of letting you remove some of the hardware barriers to installing Windows 11 if you choose to use it. Otherwise, the Media Creation Tool will give step-by-step instructions to set your USB drive up. The former gives you more options, while the latter is more hands-free. Use whichever tool you choose to create a Windows installation drive as a fallback option.
Prepare your PC for Linux

Before you do anything else, double check and make sure you have backups of your documents, data, photos, videos, and anything else you want to keep. Installing a new OS will erase everything from your drive in the process.
If you have multiple hard drives in your computer, you will need to reformat them to safely use them on Linux. Windows uses a file format called NTFS, which can be very spotty on Linux. Games and files can get corrupted when loaded, saved, and overwritten on some Linux setups. Some folks are trying to fix this, but it's an ongoing challenge.
So, again, please make sure to back everything up. Put essential documents and photos and videos on a backup drive, back up your game save files and mods and the like, and be ready to migrate them back after you finish the changeover.
Now that you have your data backed up and flash drives ready to go, you'll need to change some settings so your computer will boot your Linux flash drive.
This means accessing the BIOS/UEFI, the thing that pops up with your computer brand logo before it starts booting up. Depending on the brand, you will need to press the ESC key, F1, F2, or another function key to open a menu that lets you change some boot and options. Look for a section that says Security or Boot, and turn off Secure Boot.
If that step gives you pause, that is an understandable response. That definitely sounds like something that shouldn't be messed with, right? It's not as hazardous as it sounds, as it basically prevents your computer from booting into something unauthorized. So long as you are sourcing your OS from an official source, you won't jeopardize anything. Some Linux distros (Debian and Fedora, for instance) work with Secure Boot, while others will have issues if you turn it on. For more information, the Debian wiki provides a more detailed explanation of its purpose, how it can be used on Linux, and how it can make things complicated.
For the sake of this guide, I will assume you have it turned off. Afterwards, look for a section called Boot Order or Boot Menu, and it will show a list of options from which you can boot. Sometimes, it lets you select one of the options, other times, you can drag entries around with your mouse, and other times you will have to use the function keys to move an entry up to the top of the list. Either click the (UEFI)Name_of_Your_USB option or move it to the top of the list. If you do the latter, follow the on-screen instructions to save your settings and exit. It should boot into the install media.
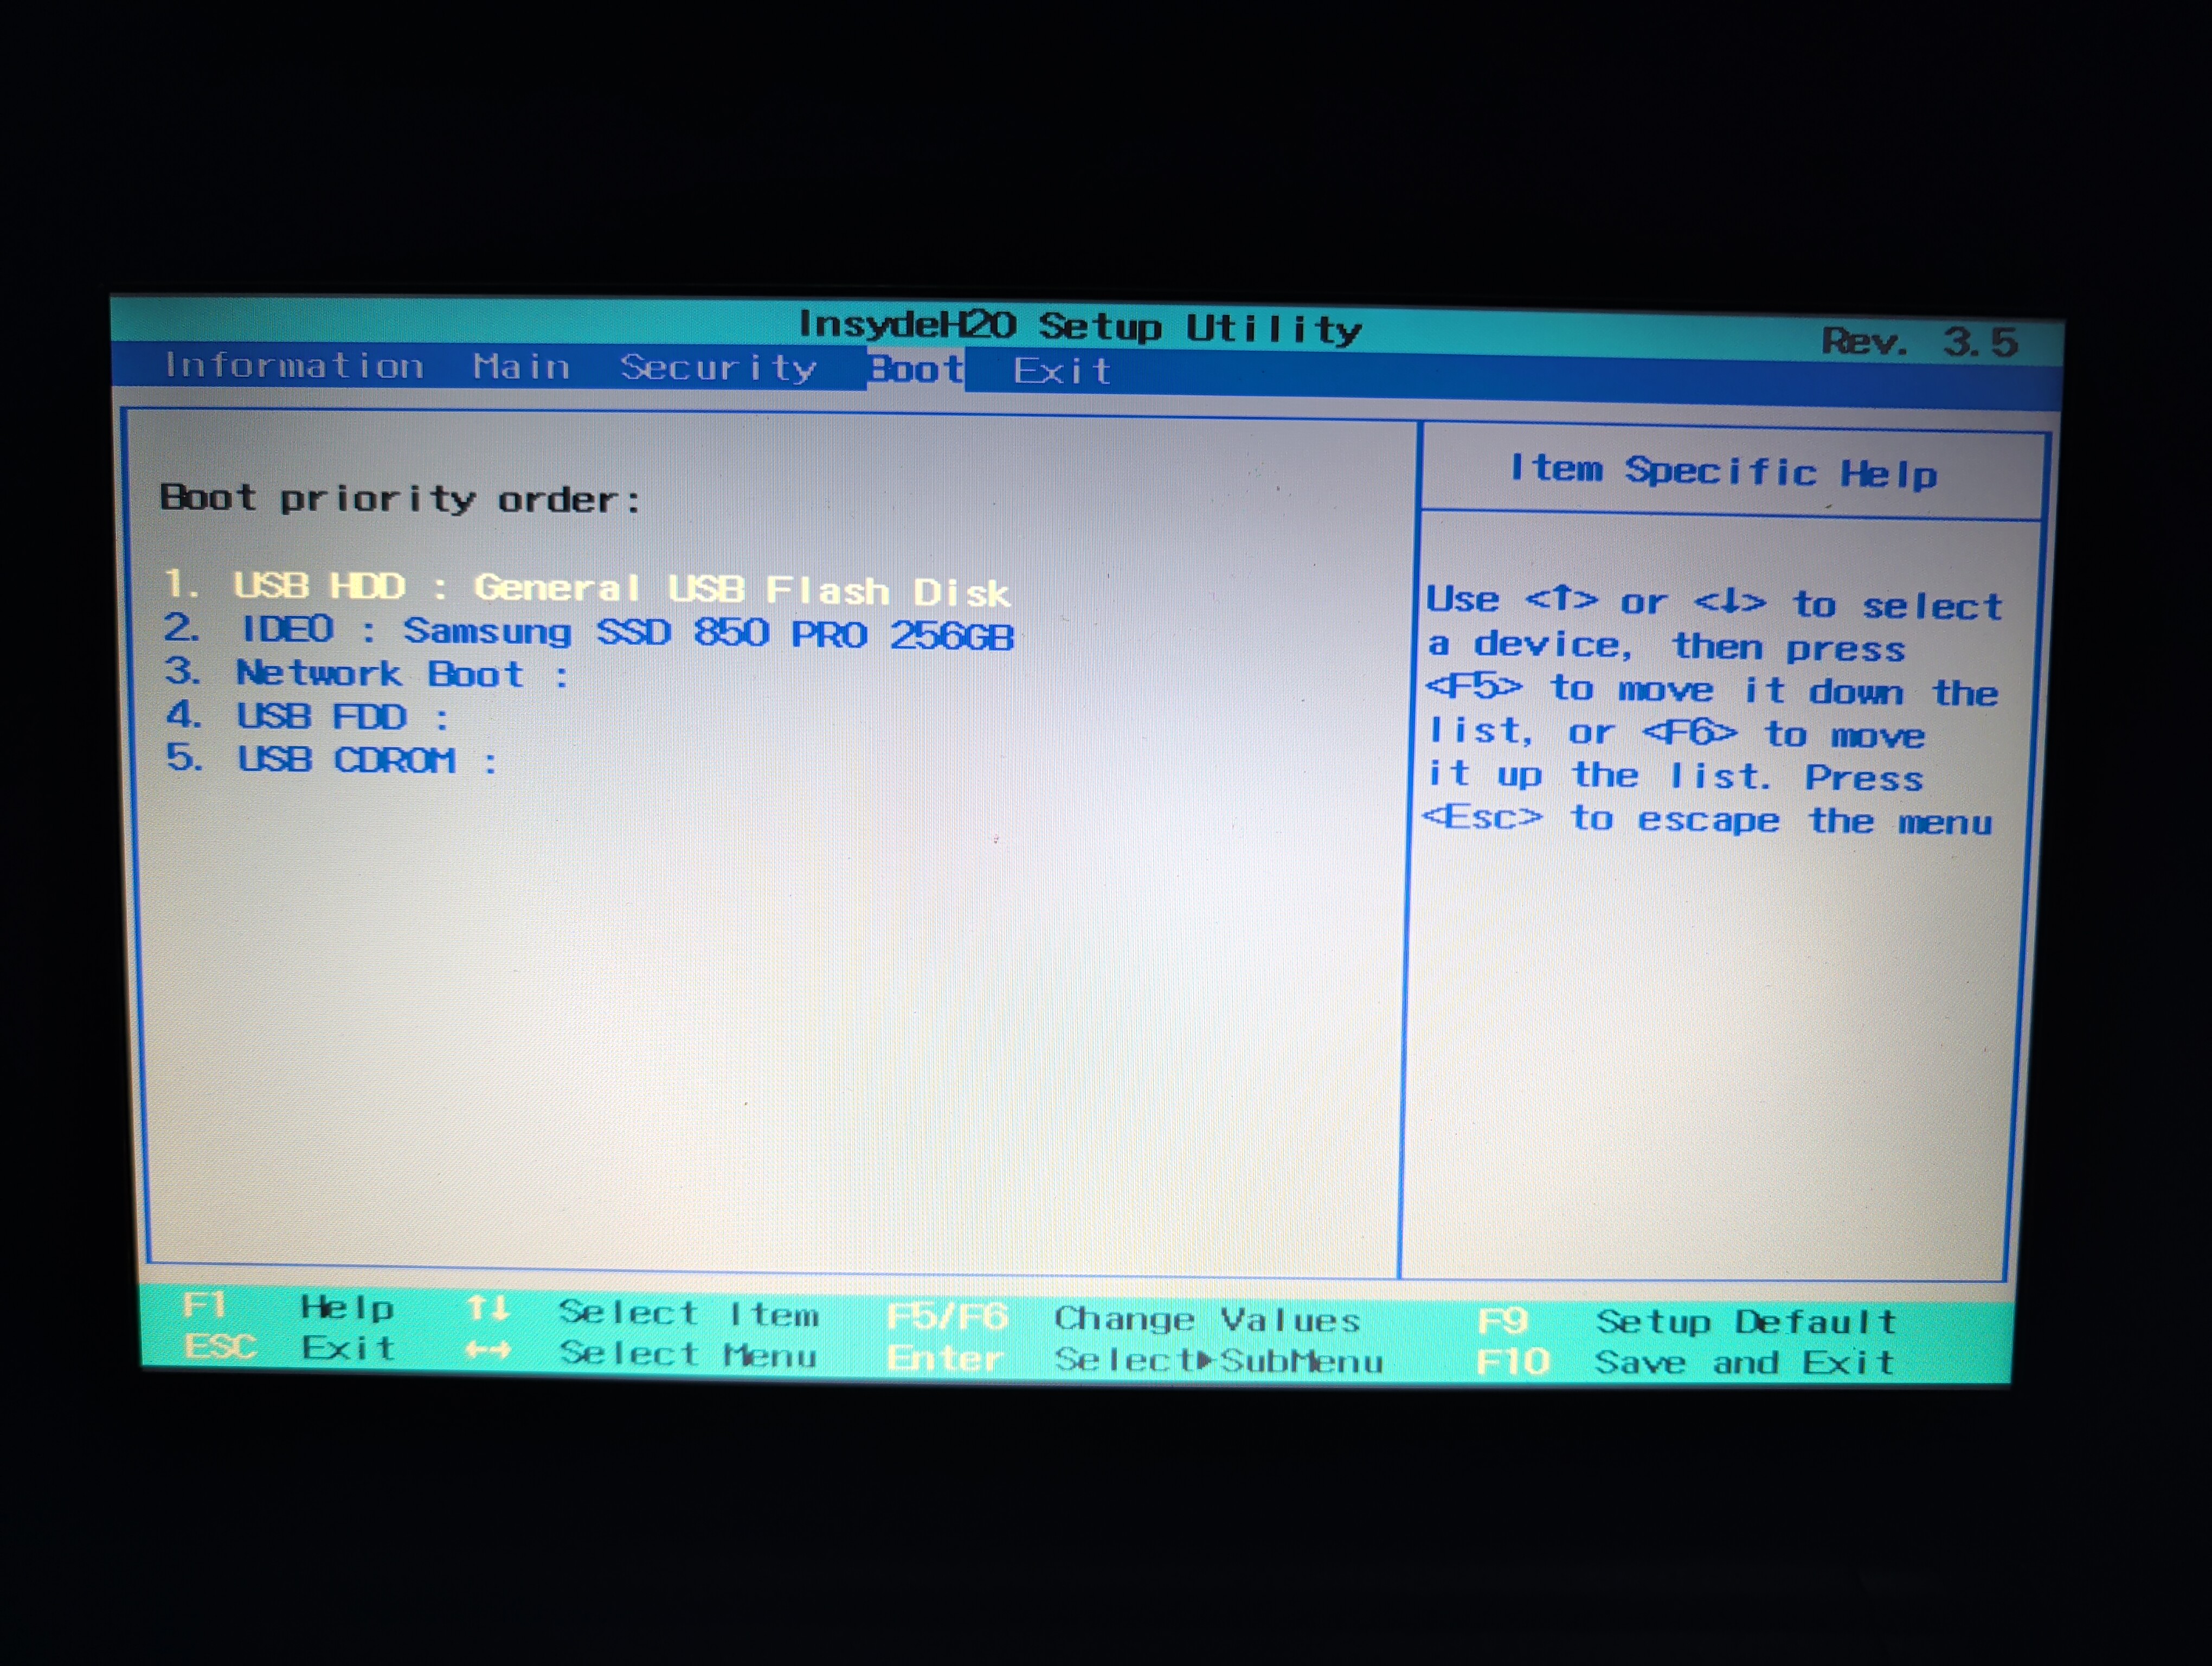
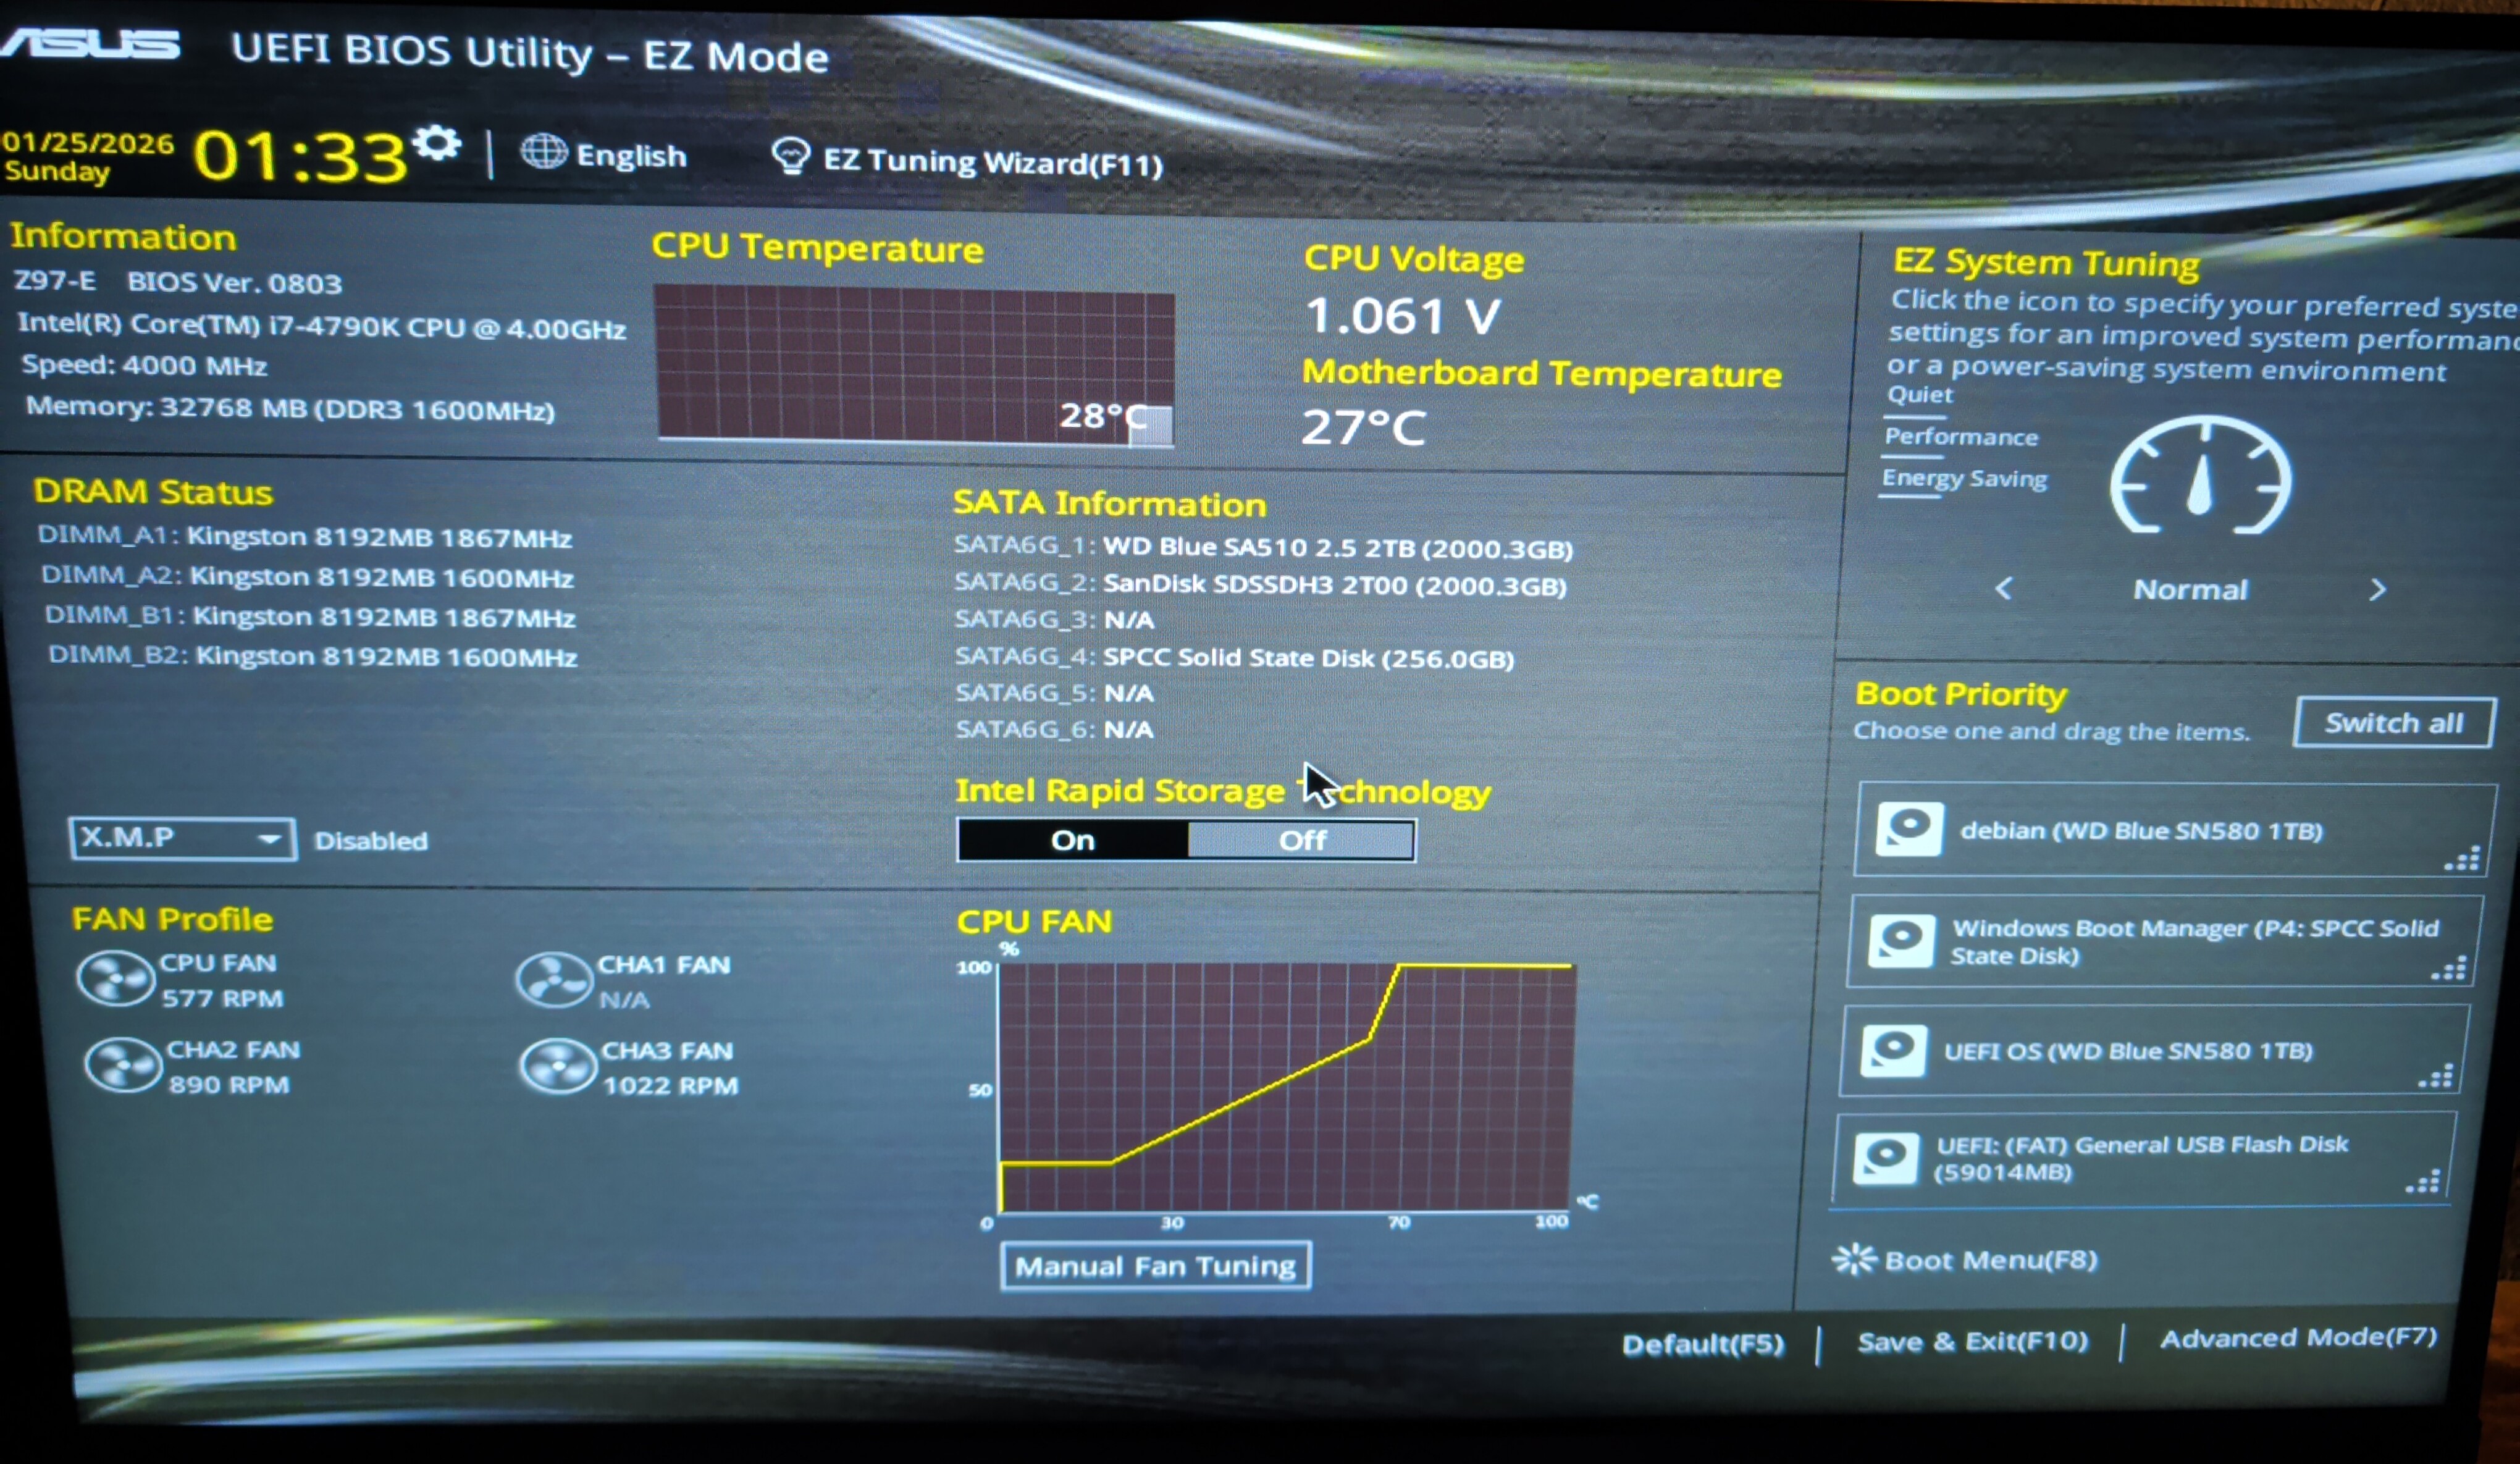
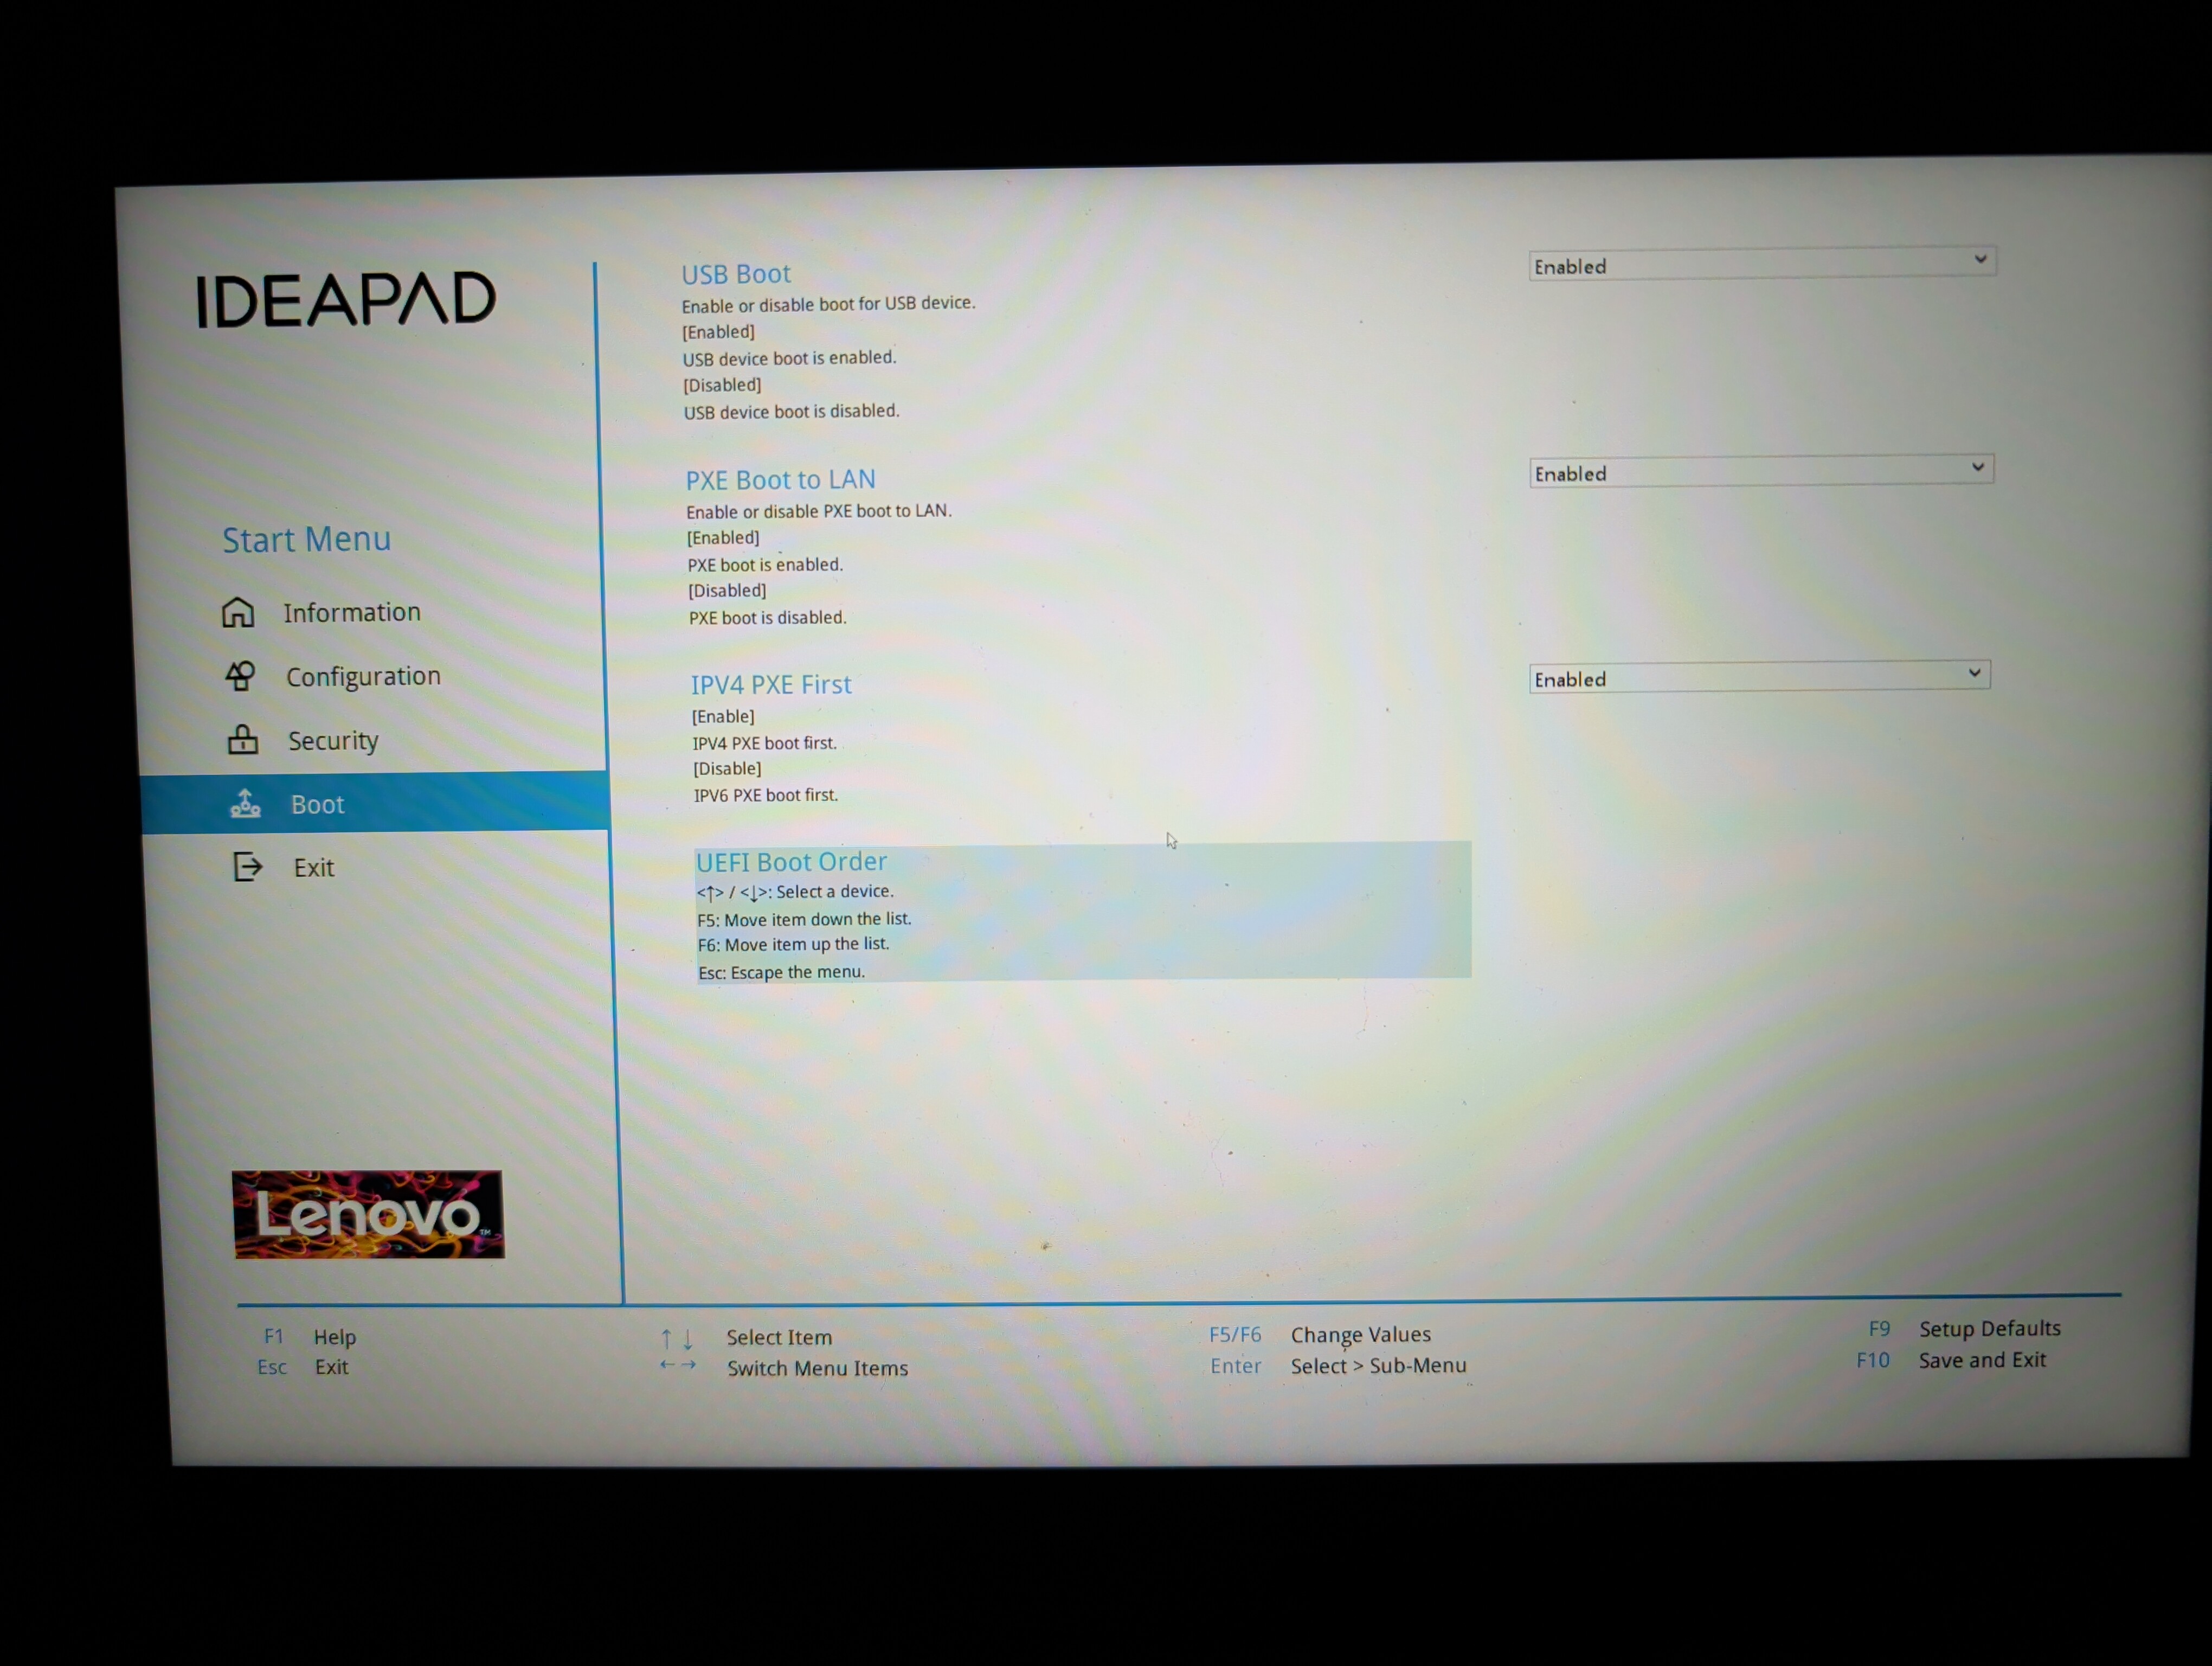
Here are a few different UEFI/BIOSes from Acer, Asus and Lenovo, respectively.