Linux Guide Navigation List | Next: Conclusion | Back to Start
Setting A Gaming PC Up My Way
If I were to build a newer gaming rig for myself or a friend, this is what I would do. This is to serve as a guide for reasonably technicahlly proficient PC users who want to try gaming on Linux, but do not want to use Bazzite or Nobara or other gaming distros. Starting out with a standard installation of Fedora KDE, this step by step guide gets you set up enough to play games on Steam and RetroArch.
I will also add some recommended general use software and some customization touches that I prefer. KDE is very customizable, so make your computer your own! This should be enough to get started though.
Initial installation
Please see my previous sections about prepping your PC for a new OS. Download the iso from Fedora's website, set up a flash drive with at least 8gb of storage as a bootable USB using Rufus, set your BIOS up, and boot from the USB drive. It will take some time to boot up, but it'll boot into a Live USB trial of Fedora KDE. Here, you can test audio on your speakers and headphones, bluetooth connectivity, Wi-Fi and other essentials. If everything looks to be working, you should be good to install!
Push the button at the top left of the desktop to install Fedora. A full-screen window will open that takes you through the installation process. Follow those instructions and it'll do the rest. Once it's finished, it'll let you close the installer and go back to the Live USB session. Click the start menu at the bottom left and press the shut down button. Once your PC is off, unplug the USB and start your PC again. It'll boot into your new OS!
On first boot, it will open a first-time setup. This will take you through the process of setting up a local account with a username and password, and also ask you to assign your computer a nickname on your network. (I'm not terribly creative with mine, so most of mine are Desktop, LivingRoom, Thinkpad, etc.) Once that's done, you'll be back to the desktop. Welcome to Fedora Linux!
Go ahead and install any updates waiting for you. Fedora usually has a lot of updates after the initial install, so make sure that gets done ASAP.
Getting Started
1) Gaming
Since this is specifically for gaming PCs, we'll start there. If you're setting up a general purpose PC, skip this and go to part 2.
You'll want a couple bits of software: Steam, Lutris (for non-steam Windows games), ProtonPlus or ProtonUp-Qt (both of which are for extra compatibility tools for Steam and Lutris), and Retroarch (for retro game emulation, if you have vintage ROMs.) All of these can be found in Discover, the app center in KDE. This is also where all your system updates come from, so you'll see Discover a lot.
Type each program in the search bar at the top of the screen. With Steam, make sure you install the one that is not a Flatpak, and use the one listed as "from Fedora Linux" instead. ProtonUp and ProtonPlus are both Flatpak-only so that's no biggie. You can install either the Flatpak or distro-specific versions of the others without it really mattering too much. Try one, then try the other if it gives you fits.
Once they are installed, open steam from the start menu under the Gaming category. It will briefly flash open, then disappear. Don't worry, that's to be expected! I won't get too into the details, but Steam's updater is built for older display software and won't open the dialogue box with the initial update progress on first use. Give it a few minutes to finish up and a login window will pop up. Log into your account and it'll open the Steam storefront. Everything looks basically identical to the Windows version so you should feel at home.
Go ahead and open Lutris too if you plan on running games outside of steam.
After you've opened both, open ProtonPlus/ProtonUp. It should show a button or menu that lets you pick between Steam and Lutris. Download the most recent version of GE-Proton, the most popular community-tweaked version of Steam's Proton compatibility layer, for each gaming program. Restart Steam, and ProtonGE will be ready to go!
Just to make things easier, open the Steam settings menu and click the Compatibilty tab near the bottom of the list. It lets you set a default compatibility tool for all your games that need it. By default, it uses Proton Experimental. Change that to your version of GE-Proton, then restart Steam when prompted. When it loads back in, you're ready to go! Download the games you want to test and they'll automatically use GE-Proton to run if they're not built to run through Linux.
Lutris will be a bit more complicated. You will need to do some searching to find the best way to run specific games.
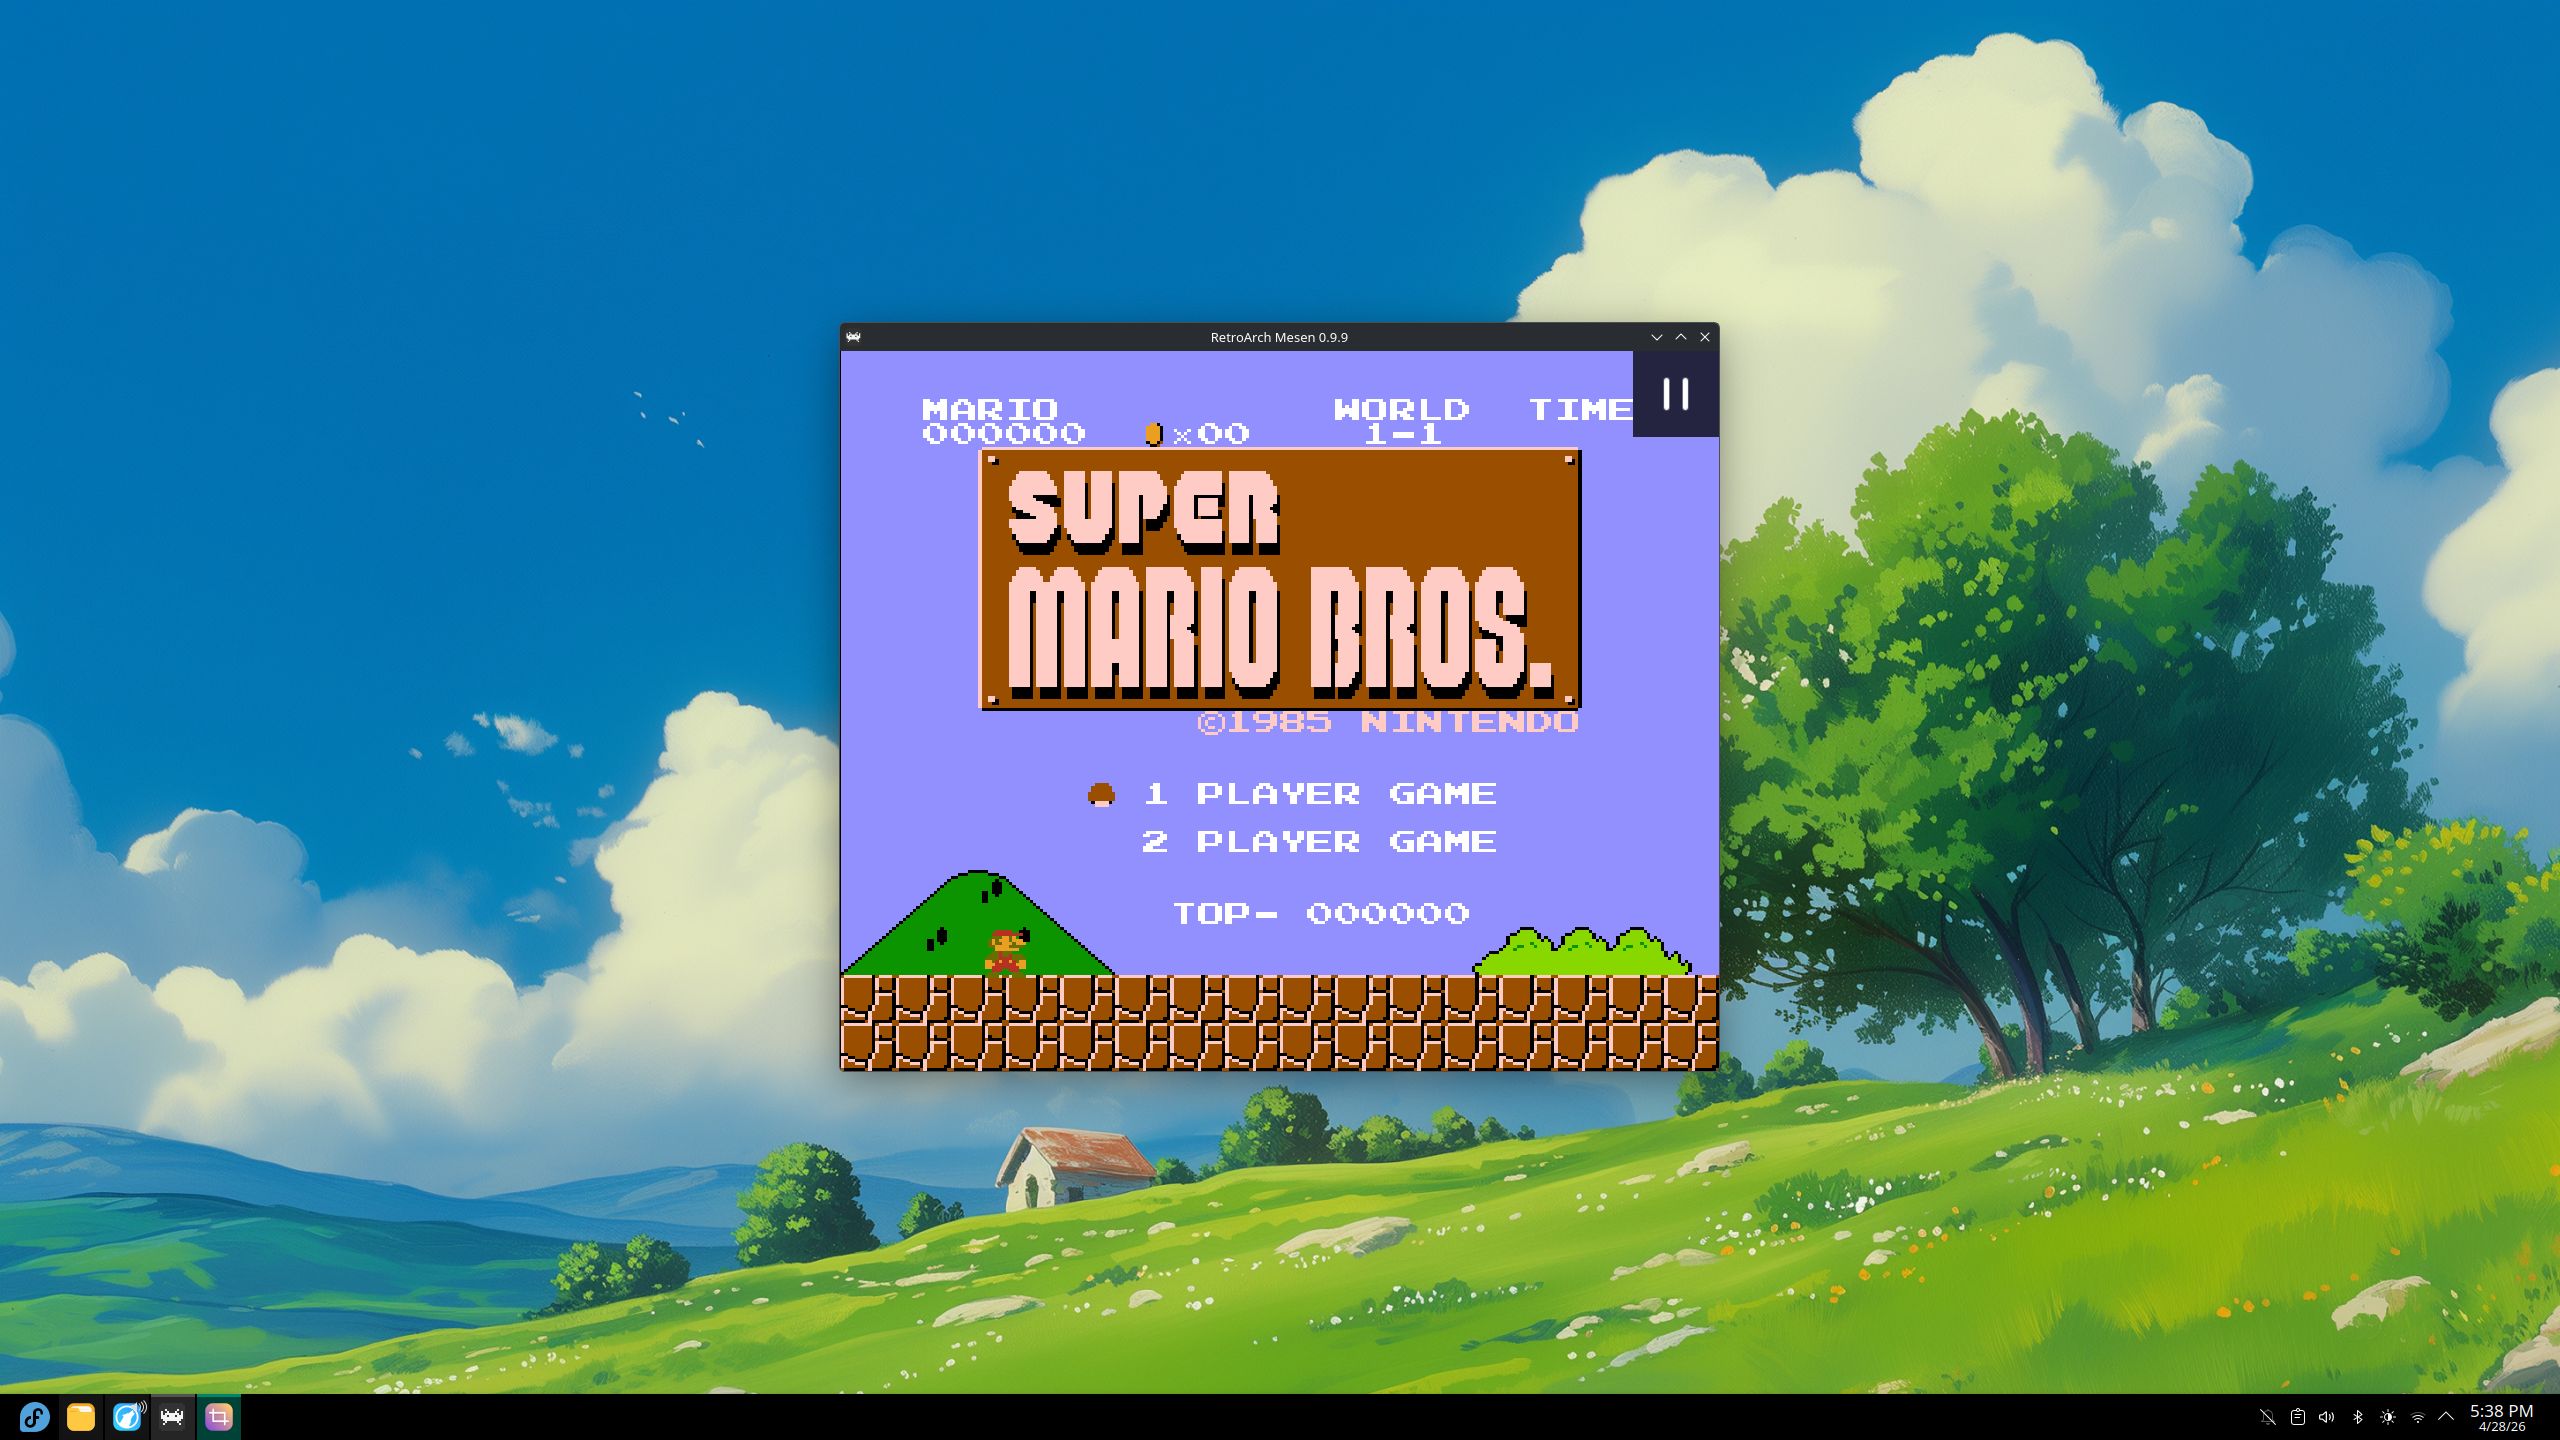
If you have used RetroArch on PC, the process is nearly identical to Windows. Download the cores needed for each system you want to emulate, import your games library by-directory to capture all the games in your Emulator ROMs folder, and let it run. It'll eventually create a list of all your games, catagorized by console.
And that's about it! You're ready to play!
2) General Use
If you plan on doing anything other than gaming (watching videos, browsing the web, writing up documents, etc.), you'll need to do a couple other things to get up to speed. I recommend following Github user gpaolino's Fedora Post Installation Guide to get a few things set up. What parts apply to you depend on your needs, but it mostly covers some good essentials. you can generally skip steps 0 and 0.1, since they're about creating backups, running a quick update, naming your PC (which you already did), and removing some programs that you may actually want to use.
For this guide, skip step 1 too. It's for installing things on GNOME, the other major desktop. You're using KDE, so you don't need any of that.
Part 2, "Enable RPM Fusion Repositories" is what we're really here for! Fedora ships without a lot of multimedia codecs, so videos may not work right. This fixes it! It patches your system repositories with RPM Fusion, a set of extra program sources that complete your system, and swaps the generic codecs in your system with ones that work on a wider variety of media types. It also installs VLC Media Player and Spotify, if you choose to include them.
Odds are, this will be the first thing you do in the terminal. Open Konsole, the KDE terminal, copy the text in each box you plan on using, then paste it with either a right click or ctrl+shift+V. Since you are using Sudo (elevating privileges to super-user to ask it to do something), you'll be prompted to enter your password. If everything looks right, enter your password and it will install those packages according to your instructions.
Part 3 is a your-mileage-may-vary thing. They suggest getting rid of it, since Flathub already has you covered for Flatpaks. I recommend leaving it alone in case one works better for your specific setup.
Finally, Part 4 sets up a utility called Btrfs Assistant, which helps you take care of things on your drive. It's especially useful for a tool called Snapper, which takes regular screenshots of your system and allows you to revert changes if an update breaks things. You can set the frequency of snapshots, which I usually do a couple a week and a couple a month just to cover my bases.
Now that that's done, you can look through the Discover app center and see if there's anything else you want to use.
3)Customization and Little Tweaks (optional)
Odds are, the system defaults will be fine for you as you get settled. However, if you decide you want to make some changes beyond a wallpaper, you have plenty of options! You can change your fonts, cursors, icon sets, accent colors, other colors across your desktop, clock and date display style, taskbar style, and other things too. The following is far from exhaustive: it's just what I do.